 naymo
naymoHow to connect your own domain
Point a domain you own at your naymo page with one setting (a CNAME your registrar provides), then get automatic HTTPS — no tech skills needed.
- Anyone who wants their page on their own web address
- Creators and businesses who'd rather look professional than generic
- People who own a domain but have never touched DNS settings
On Pro · automatic HTTPS included
How to use it
-
Have a domain ready
You'll need a domain you already own (like “yourname.com”). Don't have one yet? Use naymo search to register one at the cheapest registrar first, then come back here to connect it.
-
Start connecting it in naymo
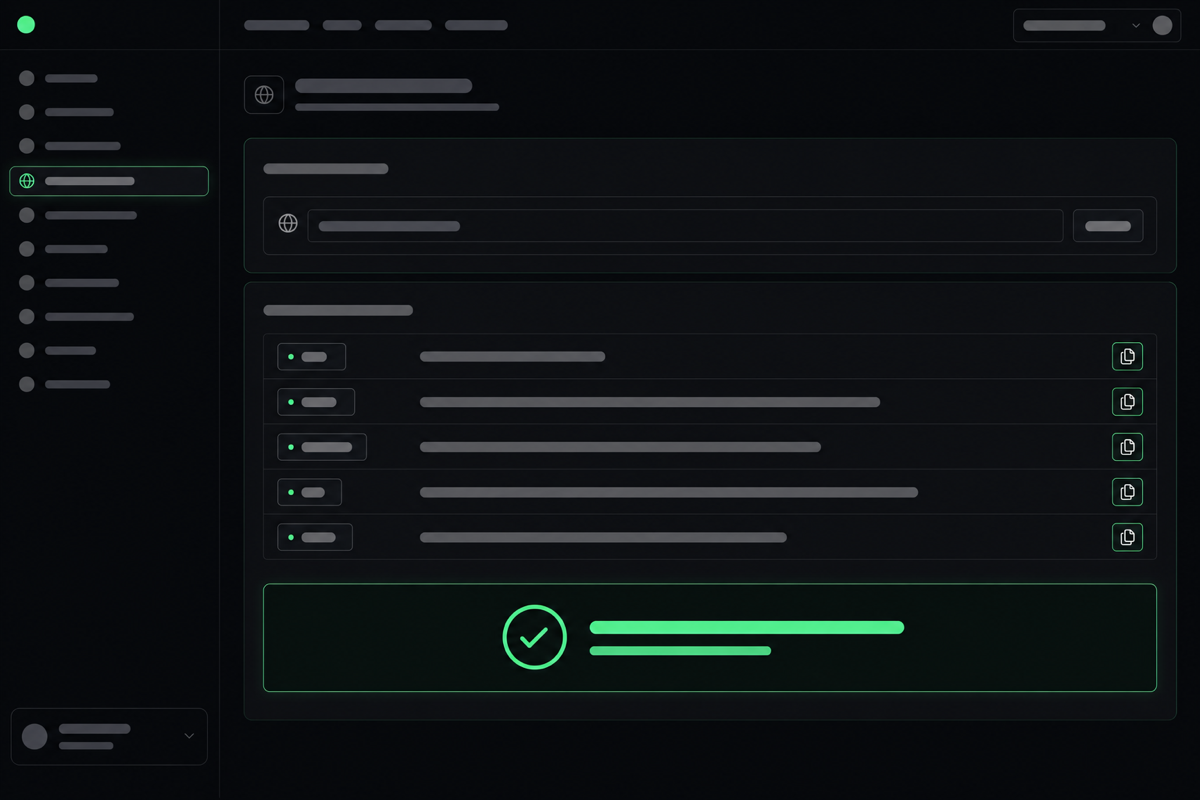
On the page you want to use your domain (your link-in-bio, for example), choose “connect a custom domain” and type your domain in. naymo then shows you the exact setting to add — you just copy it.
-
Add the setting at your registrar
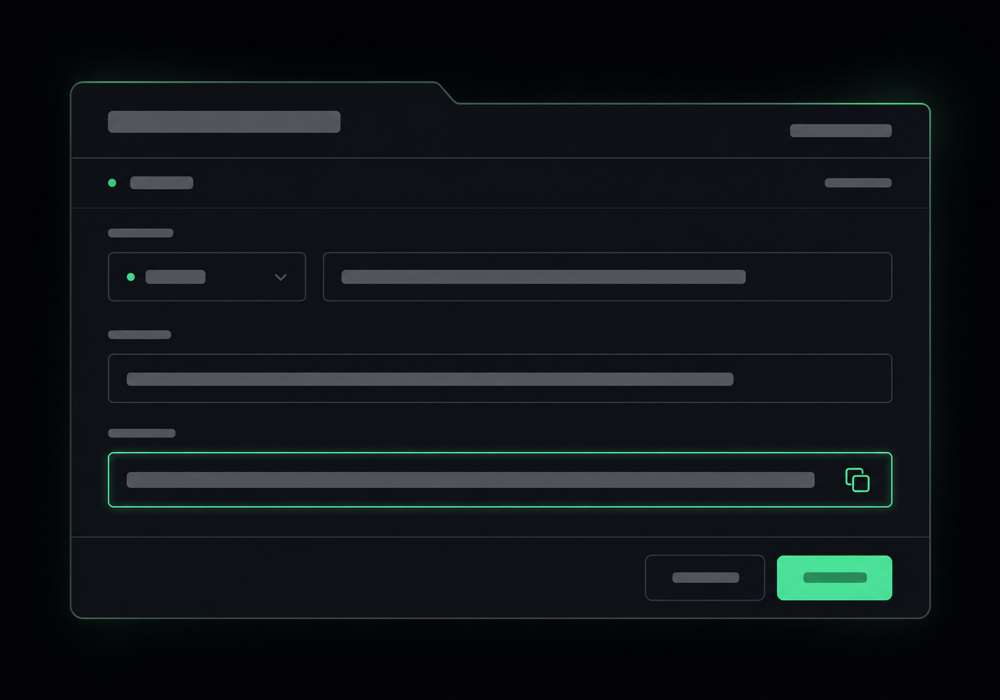
Log in to your registrar (the shop where you bought the domain) and find its DNS settings. Add the CNAME naymo gives you — a CNAME is just a DNS setting your registrar provides that points your domain at your naymo page. Paste in the value naymo showed you and save.
-
Wait a little, then verify
DNS changes take a short while to spread across the internet — usually minutes, sometimes a few hours. naymo checks for you and flips the domain to “connected” once it's ready. No action needed but patience.
-
You're live — HTTPS and all
Once connected, your page loads on your own domain with the padlock (HTTPS, the secure connection) set up automatically. Nothing else to configure — share your domain with the world.
Where to paste your CNAME
Get more out of it
Copy the setting exactly
DNS is fussy about typos. Copy the CNAME value naymo gives you rather than typing it, and double-check there are no extra spaces.
Give it time before worrying
If it doesn't connect instantly, that's normal — DNS changes can take a few hours to take effect everywhere. Grab a coffee and check back; naymo will confirm when it's ready.
Use a subdomain for short links
Many people use the main domain for their bio (yourname.com) and a subdomain like go.yourname.com for short links. naymo gives you the right setting for each.
Not sure where DNS settings live?
Every registrar calls it something slightly different (“DNS”, “Manage DNS”, “Advanced”). If you're stuck, search your registrar's help for “add a CNAME record” — or ask naymo support.
Common questions
What is a custom domain, and why use one?
A custom domain is your own web address (like yourname.com) instead of a shared one (like naymo.ai/@you). It looks more professional, it's yours to keep, and visitors trust it more. On Pro you can point your domain at your naymo page.
What is a CNAME — that sounds technical?
A CNAME is simply a setting in your domain's DNS (the internet's address book) that points your domain to another address — in this case, your naymo page. naymo gives you the exact value to paste; you add it at your registrar and save. That's the whole job.
How long does it take to connect?
Usually just a few minutes, though DNS changes can occasionally take a few hours to spread across the internet. naymo checks automatically and marks your domain “connected” once it's ready — you don't have to keep refreshing.
Do I need to set up the security padlock (HTTPS)?
No. Once your domain is connected, naymo sets up HTTPS — the secure padlock in the address bar — automatically. There's nothing for you to install or renew.
Related guides
More help that pairs with this one — and the page where you can try it yourself.
Want the full feature rundown? Read about About custom domains, browse the whole Help Center, or compare plans on the pricing page.
Try it yourself
Point a domain you own at your naymo page with one setting (a CNAME your registrar provides), then get automatic HTTPS — no tech skills needed.